And another new year has come around, I hope all of you SWS brothers are doing well. Although there are still concerns about COVID-19 concerns, please take precautions to prevent infection in your daily lives.
Thank you very much for taking your time to read my blog this year.
I will continue to make your dreams come true one by one through the production of SWS aircraft scale models.
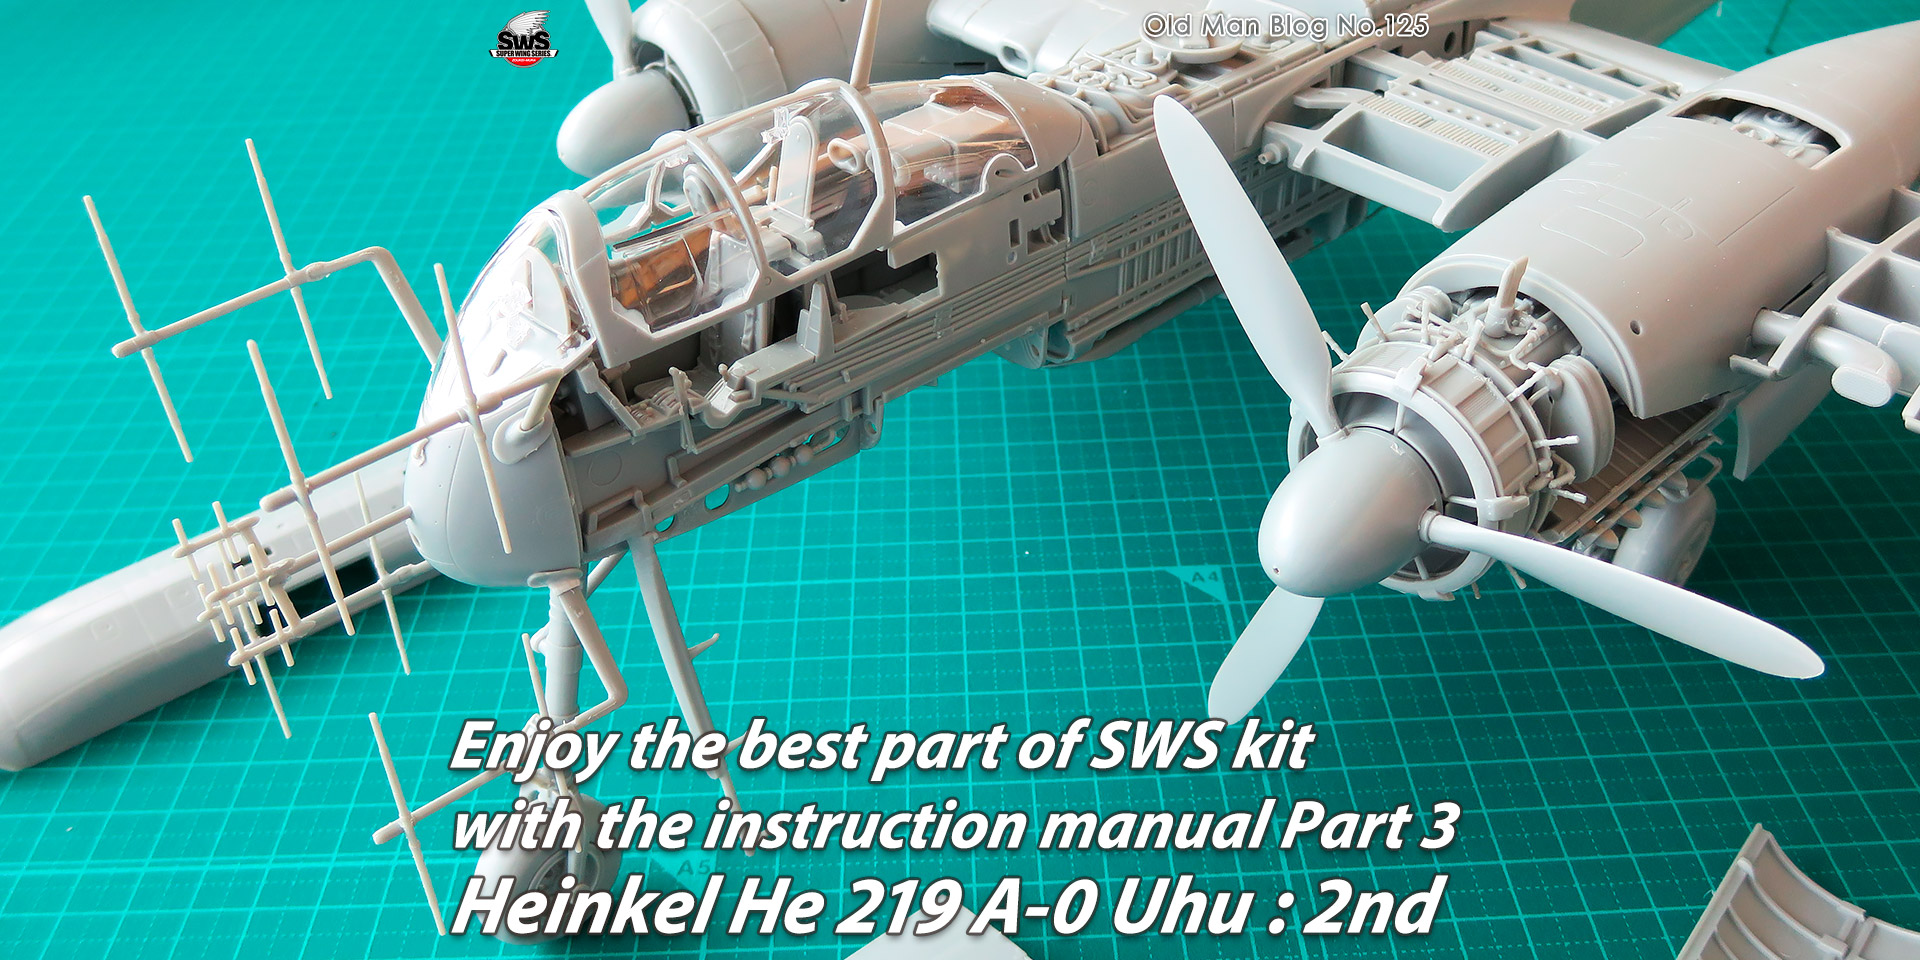
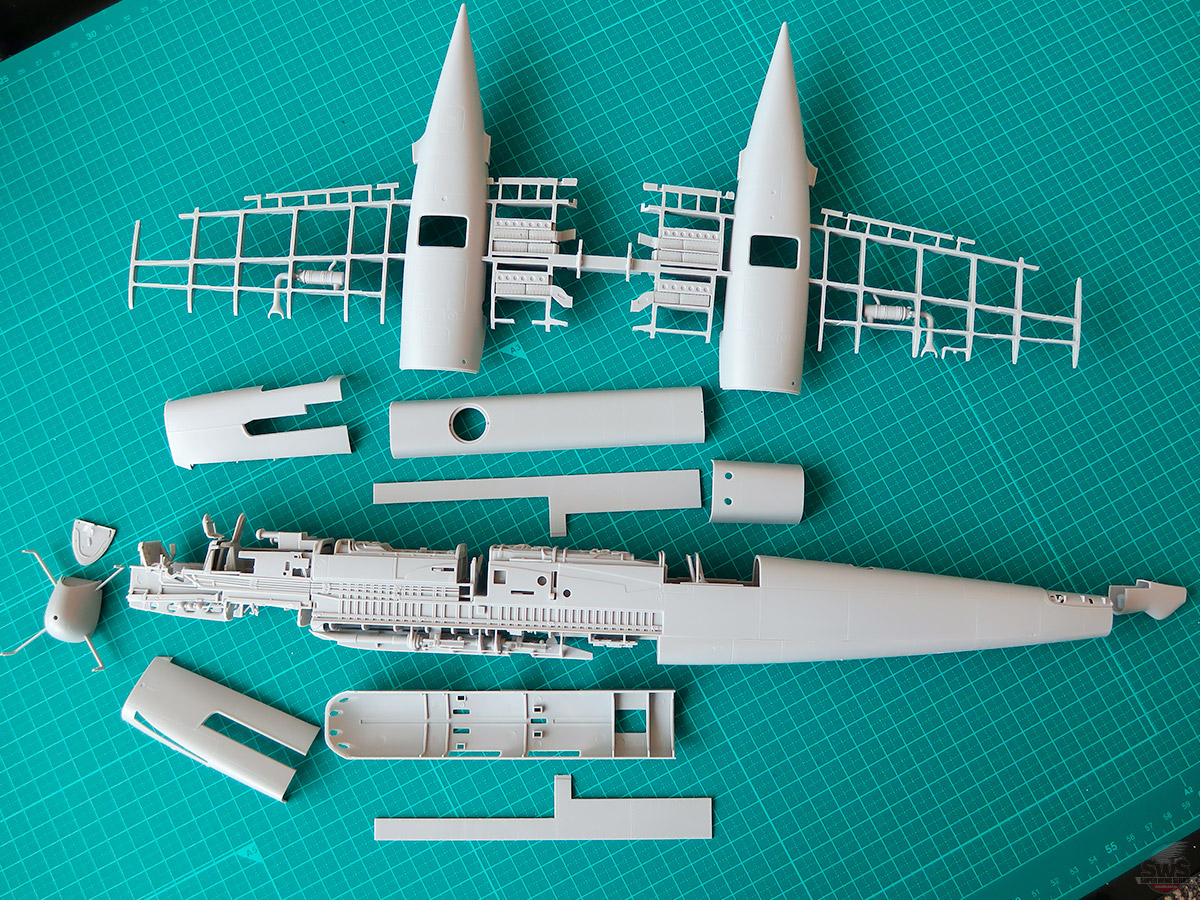
This time, I will be working on the cockpit, fuselage, and wings of the SWS 1/32 He 219 Uhu.
Even though it is a twin-engine plane, the He 219 is still a powerful and destructive fighter plane, so its cockpit and fuselage are also narrowed down to the very last possible inch, making it a very cramped space for the pilot's work area.
The fuselage houses the oblique guns and huge gun pods, the main armament of the He 219, and the engines on both sides are mounted on the wings.
Approaching at high speed and stealthily in the darkness of the night, the midnight hunter Uhu slaughters away the large four-engine aircraft by concentrated fire at once with its large-caliber guns.
Let's get closer to the secret of this feared by the Allied bombers.
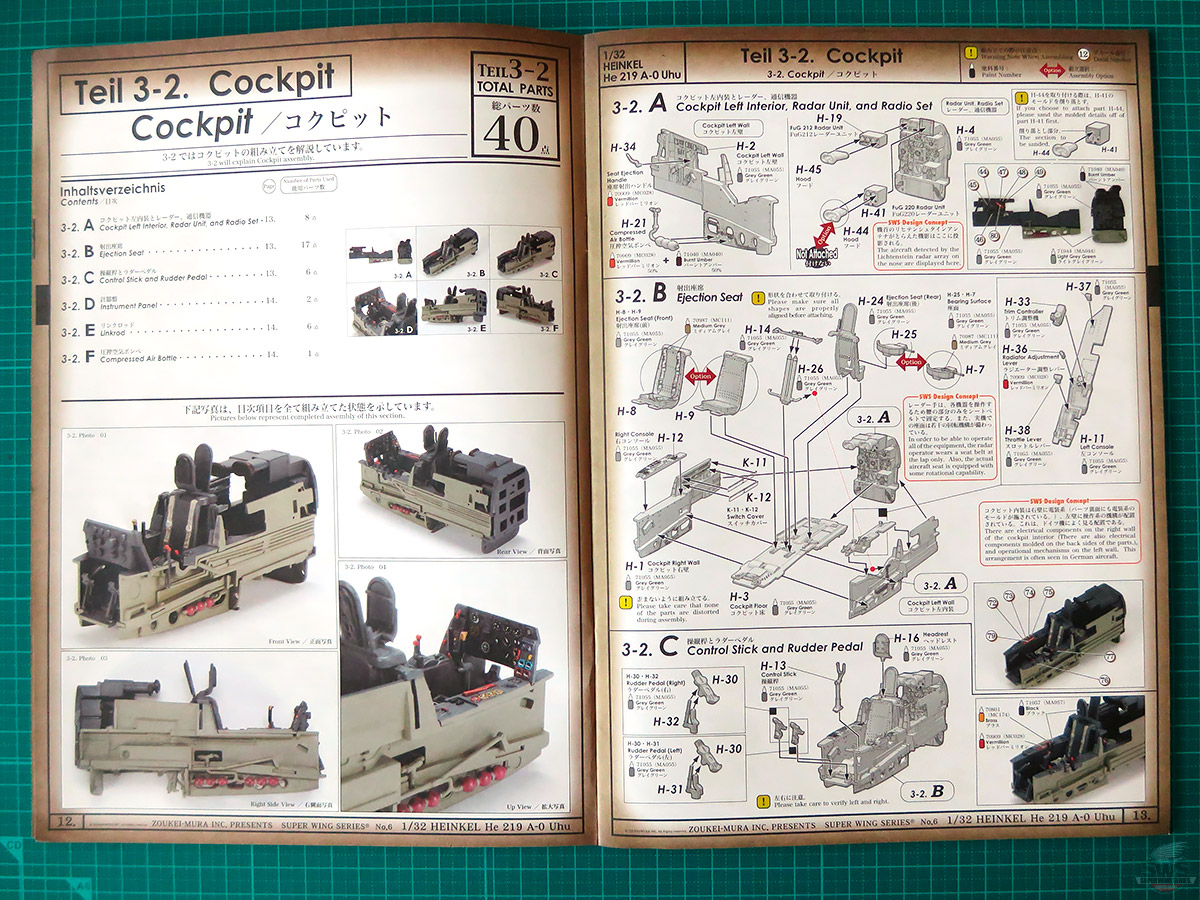

▋The cockpit building itself is not difficult and complicated and can be completed in a short time by following the instructions. (Please concentrate on painting and detailed decoration of the auxiliary equipment.
As for your reference, I recommend the Airframe Album by "Richard A. Franks" and the Zoukei-mura He 219 Concept Note.)
However, even here, you must be careful to check the left and right sides of the parts, and also their orientation and angle, and the order in which each part is glued. If you make a mistake here, you will be forced to use tweezers of various sizes, in other words, you will have to go through the usual struggle. Please be careful, be careful.
Also, if you intend to put a pilot (sold separately) on board, please make sure that the various parts are well aligned during this crafting process. He will not be able to sit in the cockpit once it is completed.

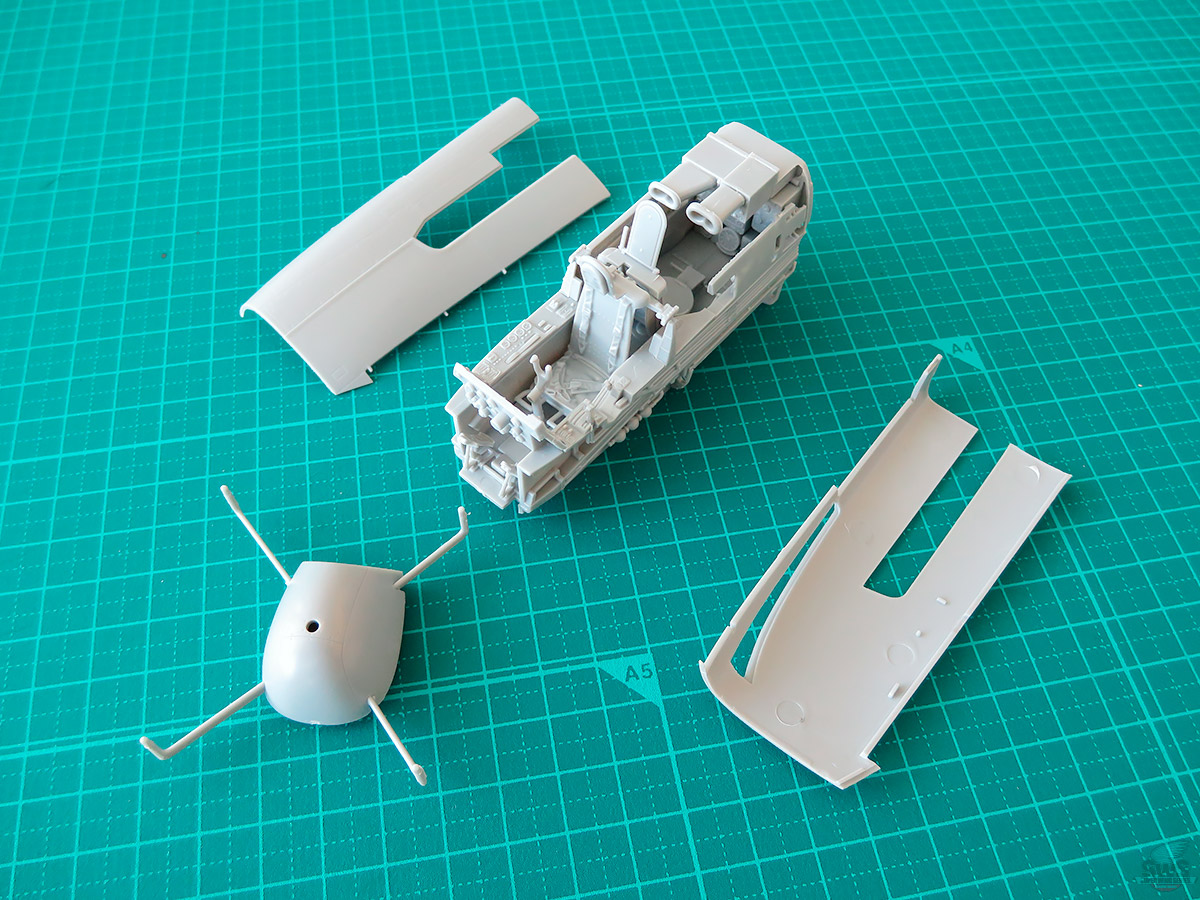
▋Now, we will start working on the fuselage from the cockpit.
After gluing both sides of the cockpit fuselage, it's time to start working on the nose plate and the radar antenna base. The antennae must be firmly attached to the fuselage so that they will be able to withstand the work of the antenna.
The base of the antenna prop also has a choice of with or without a fine rectification cover.
If you choose to use the base, you will need to use a few tips, subtle work steps, and delicate fingertip power control.
Although it is a trivial task once it is done, please proceed with careful work, keeping in mind that if you rush, you run the risk of creating small "distortions" or dents on the smooth base.
Do not force the piece, but rather rotate it slowly as you install it.
As usual, the work will be finished when you are get used to it.
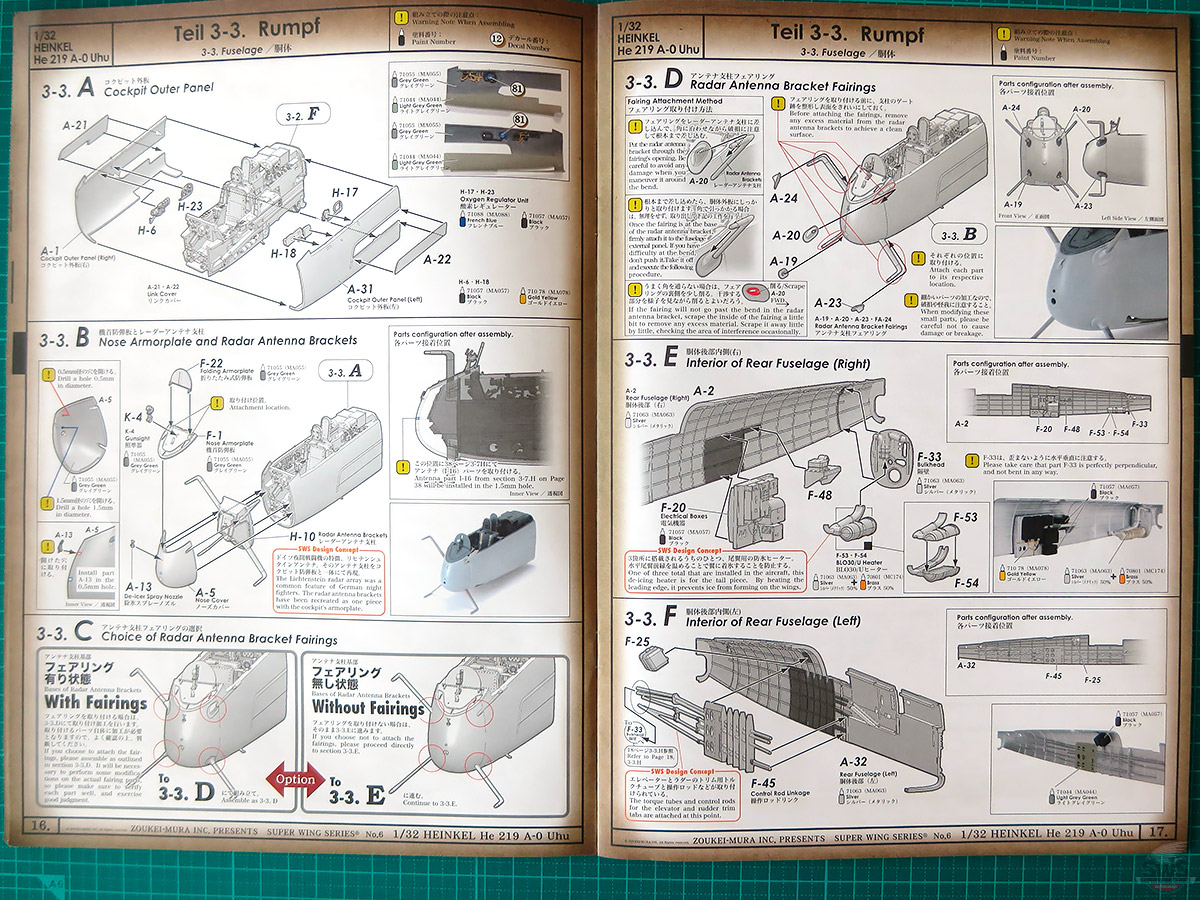

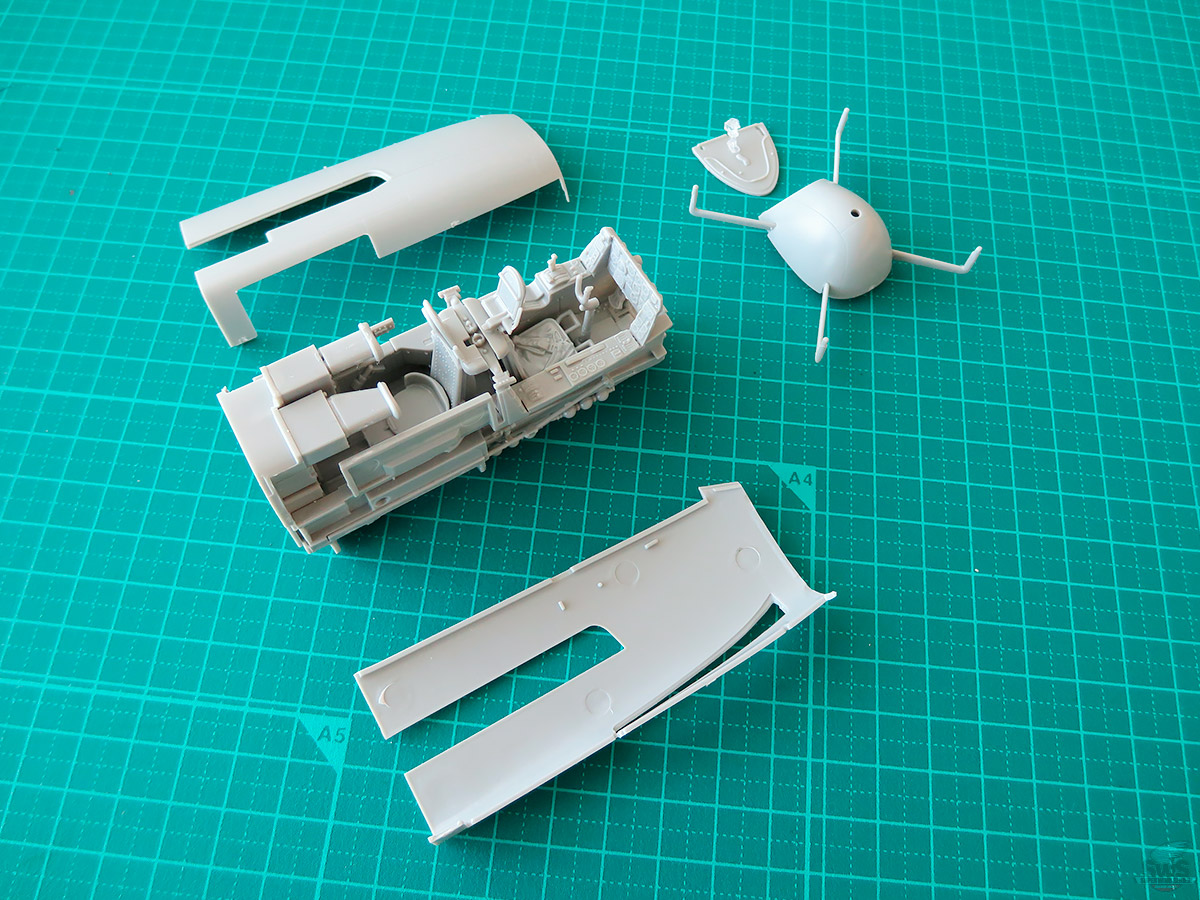
▋The fuselage has quite a bit of gluing work for the internal structures (bulkheads and equipment).
Basically, all you need to do is follow the instructions to ensure that the gluing work is completed, but sadly, this Uhu kit was an early Zoukei-mura product, and some of the gluing areas of the bulkhead parts are not well aligned. Therefore, it is necessary to file the gluing area of these parts (both right and left) before gluing them to the fuselage.
Then, temporarily assemble each bulkhead one by one, align the left and right sides of the fuselage, and temporarily fix them with a rubber band, and proceed with your work checking each bulkhead part fits correctly.
Do not glue the parts at once but assemble them temporarily one by one to make sure they are in alignment with the body.
Finally, check to make sure that all the bulkhead parts fit inside the fuselage, and temporarily complete the left and right sides of the fuselage with cellophane tape until you are satisfied with the fit.
Please continue this process patiently until you are satisfied that there are no gaps in the fuselage and the work is completed correctly.
If you glue the left and right sides of the fuselage together with even a few tenths of a millimeter of distortion or misalignment, you will face a serious situation in which you will not be able to install the slant gun or gun pod.
Please remember the proverb "a stick before you fall down" and keep working on it carefully.

▋Now the beautiful Uhu fuselage is done.
The gluing of each part is accurate and durable. From here, the most interesting part of the fuselage modelling, the "gun pod," will be assembled and equipped.
If each part of the fuselage has been built this well, the powerful armament that proves the power of the Uhu will fit perfectly. The fuel tank in the fuselage can also be slide in and out freely.
If you want to make the fuselage disassemblable after you completed so that you can see the internal structure, precision work is essential in this process.
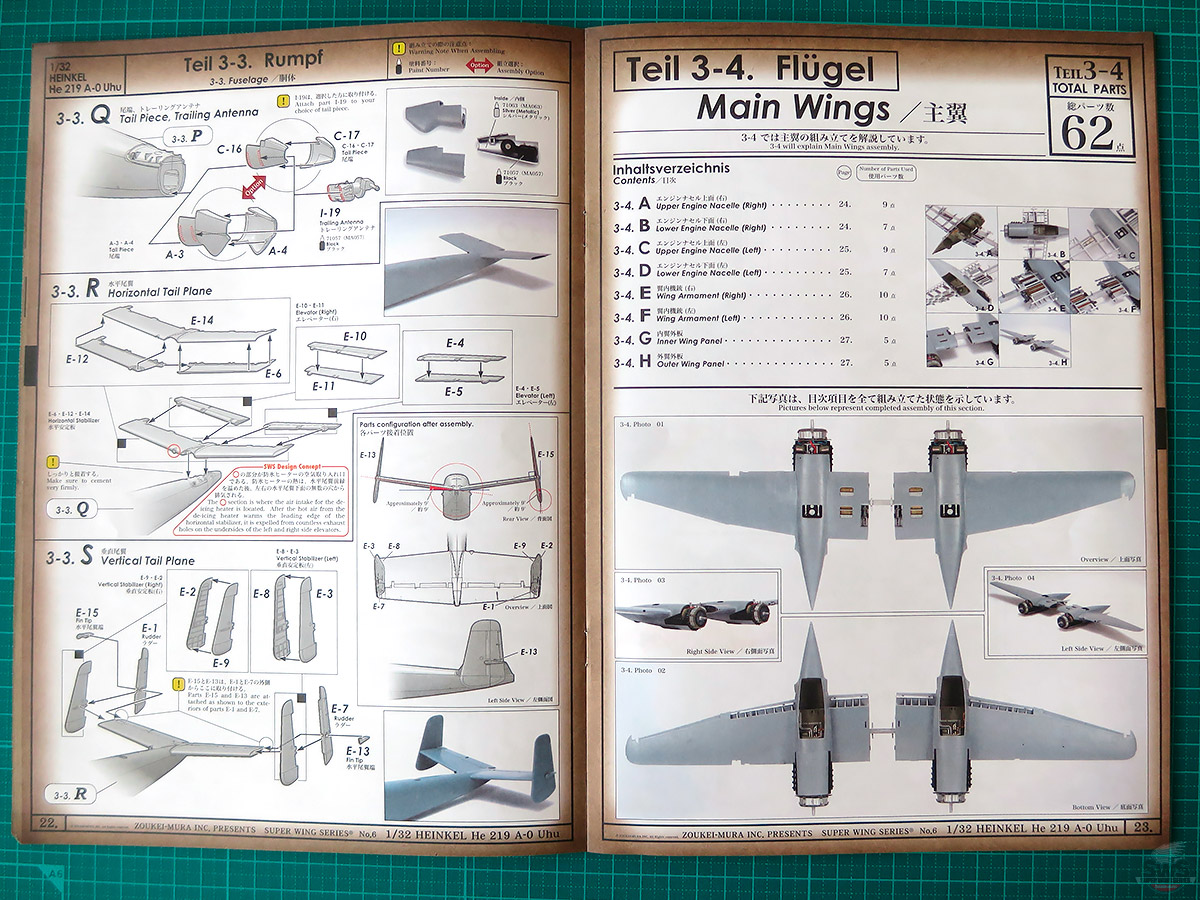
▋Now, the final part of the fuselage building is the tail plane.
The main point to note here is the correct angle of attachment of the tail plane. Since the angle of the tail plane cannot refer to the angle of the main wings now, it will be safer to attach the tail plane later referring to the angle of the main wings. So, I just stop by assembling it.
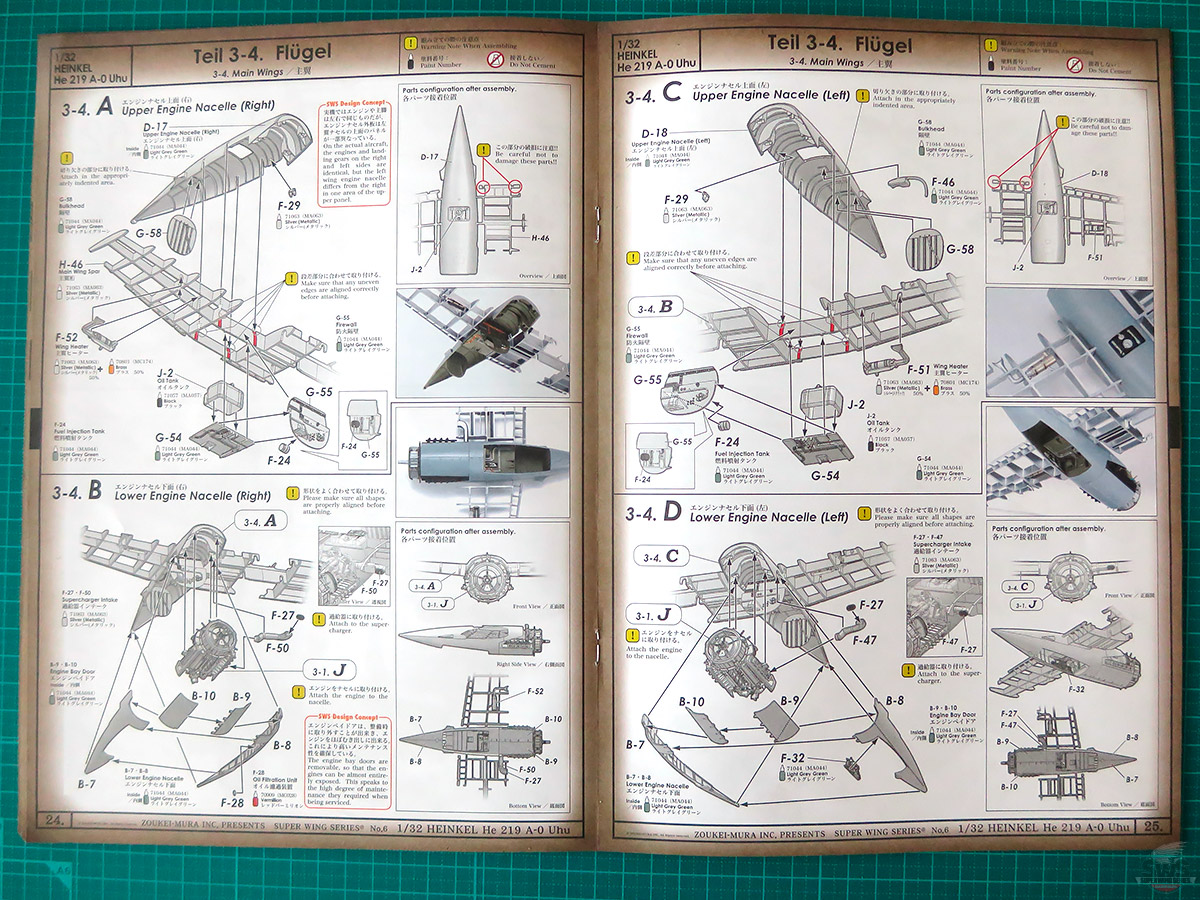
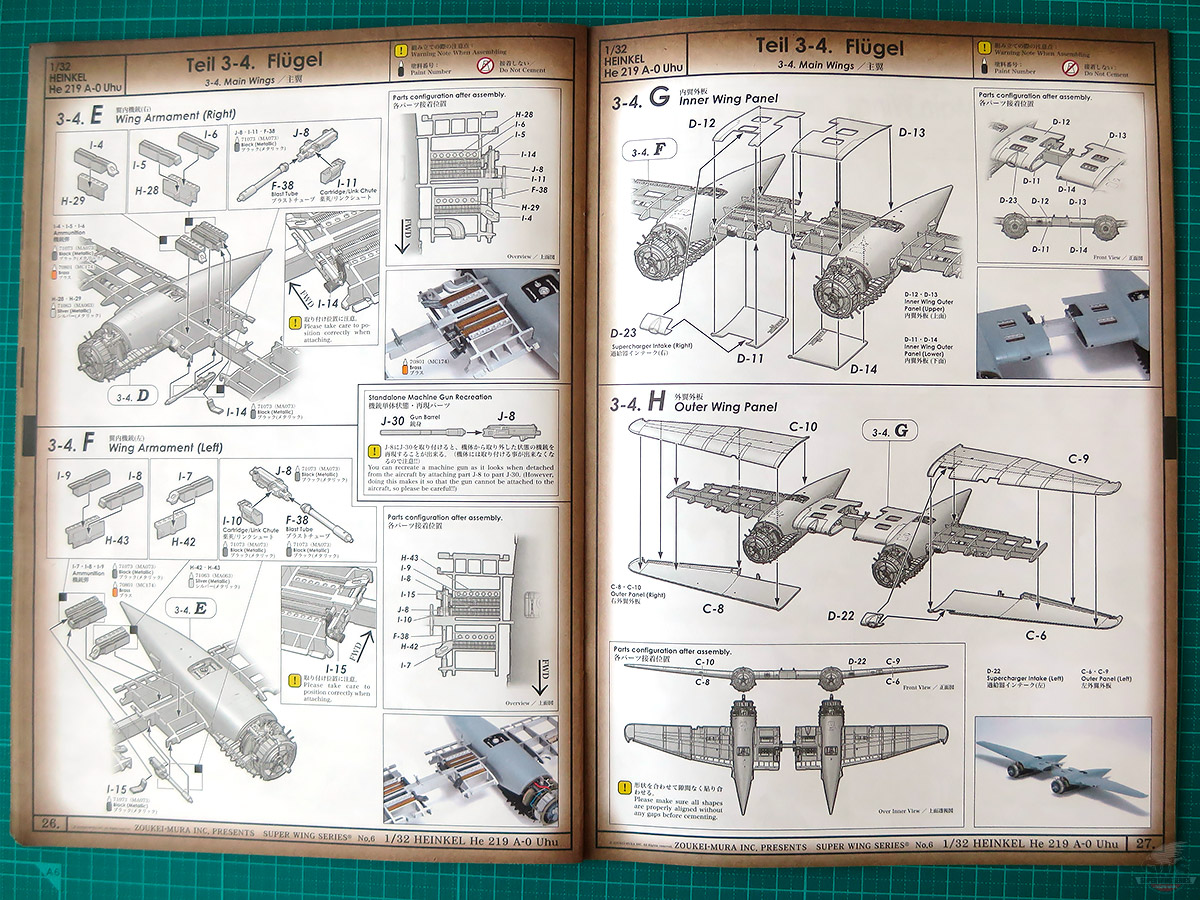
▋Assembling proceeds from the main wing to the engine installing at once.
The first step is to remove flashes from the main frame of the main wings to every corner of the girders. Uhu is a large twin-engine airplane, so there are a lot of flashes on the wings.
I suppose that it effects your evaluation for this kit whether you can enjoy such a work or regard it as a hardship.
Of course, as always, please check the gluing position of each part, its angle of attachment, and the overall distortion of the wing as you proceed with the building. If the entire wing is fixed in a twisted position, it will not be able to maintain the correct three-point posture on the ground.
Please enjoy the careful building as if you were an engineer or factory worker at Heinkel.
You may reply "Ah? I always do as like that!".
You are an awesome genuine modeler!
▋Now, you have a completed fuselage and wing with engine in front of your eyes!
In the next blog, I will proceed to the assembly of the fuselage, the installation of the landing gear, and the final assembly process.
The moment to raise a toast to the completion of the magnificent "He 219 Uhu" is approaching. Please look forward to my next blog!
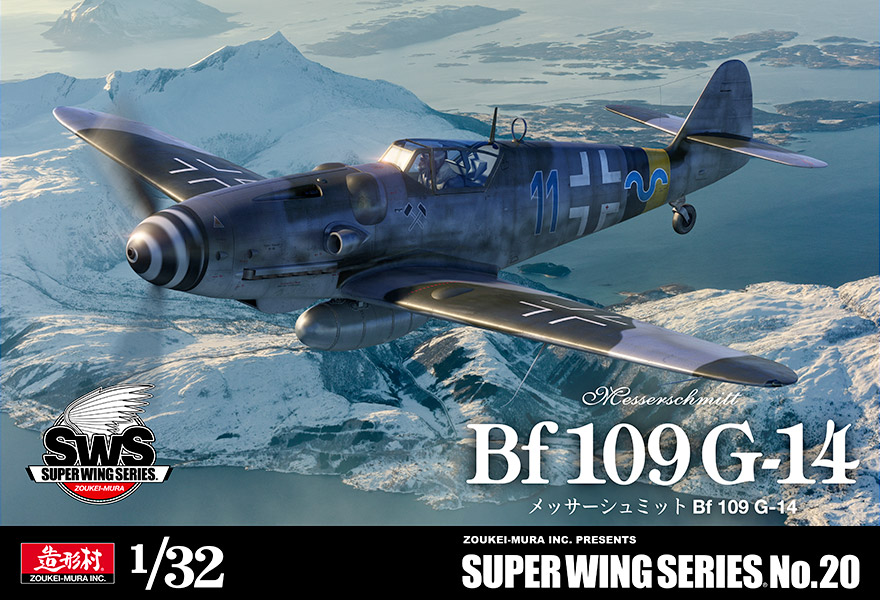
The Bf 109 G-14, the one of the most popular aircraft will come as a starter of the SWS32 kit in 2023, it will be finally in your hands!!
This is a great opportunity to display two Luftwaffe fighters together, it also fought through the entire theater of WWII together with Hartmann's plane.
The release is scheduled for March 2023. (Hope COVID-19 will be swept away!)
Pre-order will be accepted from January 21, 2023 (Sat) at all Volks stores and at the official Volks online store.
The time has come to confidently deliver the latest version of the SWS kit, the best of the best, in your hands.
We strongly recommend that you pre-order as soon as possible.
We expect that it will take some time for overseas collectors to receive the SWS kits due to the influence of COVID-19.
Please make an early pre-order at your favorite SWS Friend Shop now.
In the northern hemisphere, cold weather is still continuing. Please take good care of yourself and enjoy your treasured "scale model".
And for those of you in the southern hemisphere, please be careful of heat stroke.
See you soon in the next episode.
Hideyuki Shigeta
President, Zoukei-Mura
![]()


 Old Man Blog No.124Enjoy the best part of SWS kit with the instruction manual Part 3: Heinkel He 219 A-0 Uhu
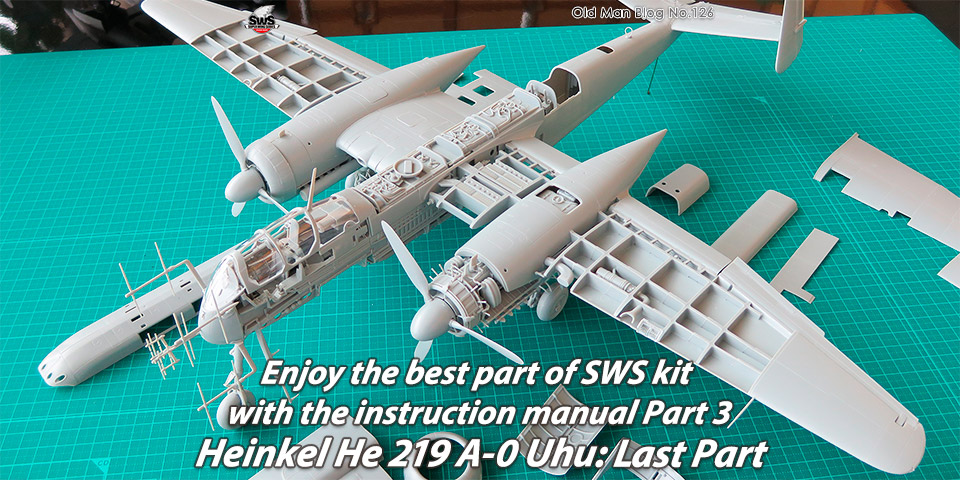 Old Man Blog No.126Enjoy the best part of SWS kit with the instruction manual Part 3: Heinkel He 219 A-0 Uhu: Last Part